Night Sky Photography Fundamentals

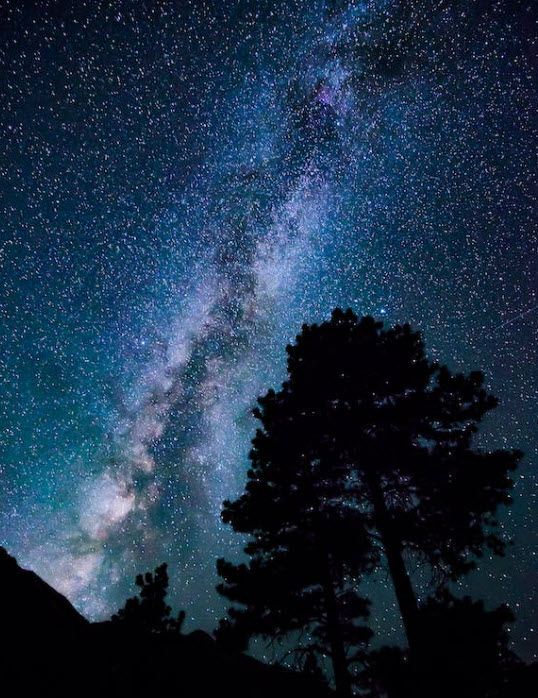
If you love the outdoors, few sights are more spectacular than a clear starlit sky. Staring out of the pitch-black towards the Milky Way is as awe-inspiring as it is beautiful. Unfortunately, night scenes like these have a reputation for being tricky to capture on camera, but this doesn’t need to be the case. Sure, specialist equipment helps but there is no reason you can’t get stunning images with an entry-level DSLR or Micro Four Thirds camera.
Aperture
To get a good night-time shot, you need to maximize the amount of light you capture. The first step is to widen the camera’s aperture to get as much light on your sensor as possible. How wide you can go will depend on the lens you are using, but one that goes down to f/2.8 or even f/2 often will give the best results. However, don’t worry too much if your camera doesn’t go this wide. You will still be able to get fantastic photos with a smaller aperture.
It’s worth noting that a wide aperture is opposite to what you would typically use in landscape photography. During the daytime, most landscape shots require front-to-back sharpness, but at night-time, the aim is to get light into the camera to avoid increasing the ISO too far and making the image grainy.
ISO
The ISO of your camera determines how sensitive the sensor is to light, with a high ISO increasing sensitivity but also graining. During the day, you would expect to run your ISO as low as possible, but you need all the help you can get at night.
Depending on the aperture size, you want to start your ISO at around 3200 and adjust accordingly after a few trials. Often, this still won’t be enough, and you will have to go higher, but it’s always best to start low and go up than to be too high and unwittingly take a grainy photo.
Shutter Speed
The longer the shutter is open, the more light you let in. Typically, you should start at 10-15 seconds and then slow it down further if the photo is too dark or it’s too grainy after increasing the ISO to compensate. It may seem that slowing the shutter speed as far as it will go would allow you to reduce the ISO to a more manageable level. Unfortunately, as the Earth spins, the stars change position in the night sky, and the sharpness of the image is lost.
Of course, this may be your aim! In this case, you’ll get away with a much lower ISO. However, to retain the crystal clarity of the night sky, a slightly quicker shutter speed, and a higher ISO will usually give a better shot.
Tripod
With such a slow shutter speed, a way to stabilize the camera is essential. If you try to hold the camera still in your hands for 10 seconds or more, you won’t produce a well-focused image. A tripod is the ideal solution but can be cumbersome to carry to the locations where you will get the best shots. At a stretch, you could balance your camera on a rock or somewhere sturdy, but if you have a bit of spare cash, a specially designed travel tripod is the best choice.
Like all photography, getting a stunning night-time shot requires balancing the shutter speed, the aperture, and the ISO. Experiment with different settings to learn how each affects the photo. Then, before long, you will take incredible landscapes you can be proud of.